Create Procreate brush from sketch

Lesley created the forest in this image with brushes originally drawn in her sketchbook.

Some time ago, one of our Facebook group  members Lesley Lane Fenton made this charming illustration with organic shapes. 

I asked Lesley about the work and she told me that she created these shapes in Procreate by making her own brushes from drawings in her sketchbook. Lesley provided me with a quick description of how she makes the brushes but since then Procreate has had quite a few updates so I’ve added an up-to-date, step-by-step tutorial of how I would create a brush from a drawing in Procreate which you can read further down the page.

Over to Lesley….

I wanted to use my own brushes and brush stamps in my digital art especially in the natural world aspects.

I got into creative work because I did not care for blanket filters that people were using on their photos. That led me to the app iColorama and eventually Nicki Fitz-Gerald’s courses. 

I have found that Procreate, especially, – probably because the process is so easy – has inspired me to experiment with transforming other drawings and imagery into brushes as well.

Inspiration
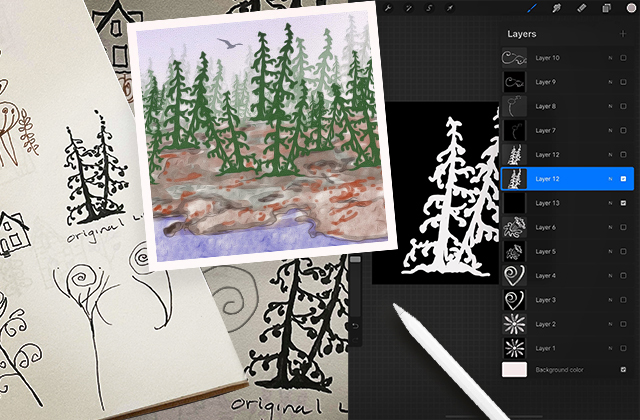
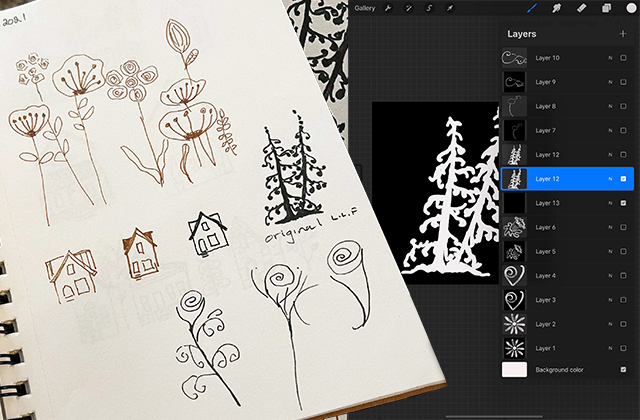
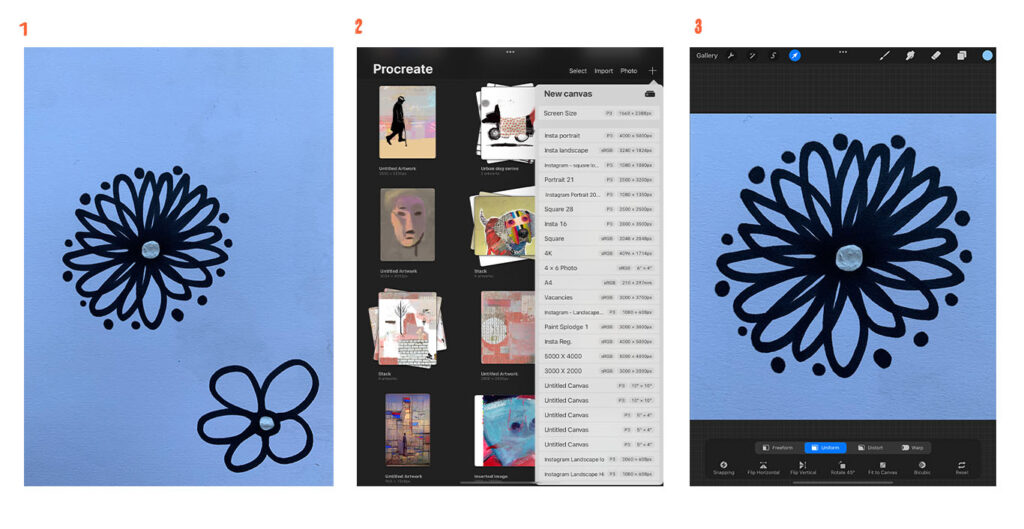
I have been doing a course in sketch journals and one section encourages line drawings. It seemed to me these would make great stamp brushes.  


Making the Brush
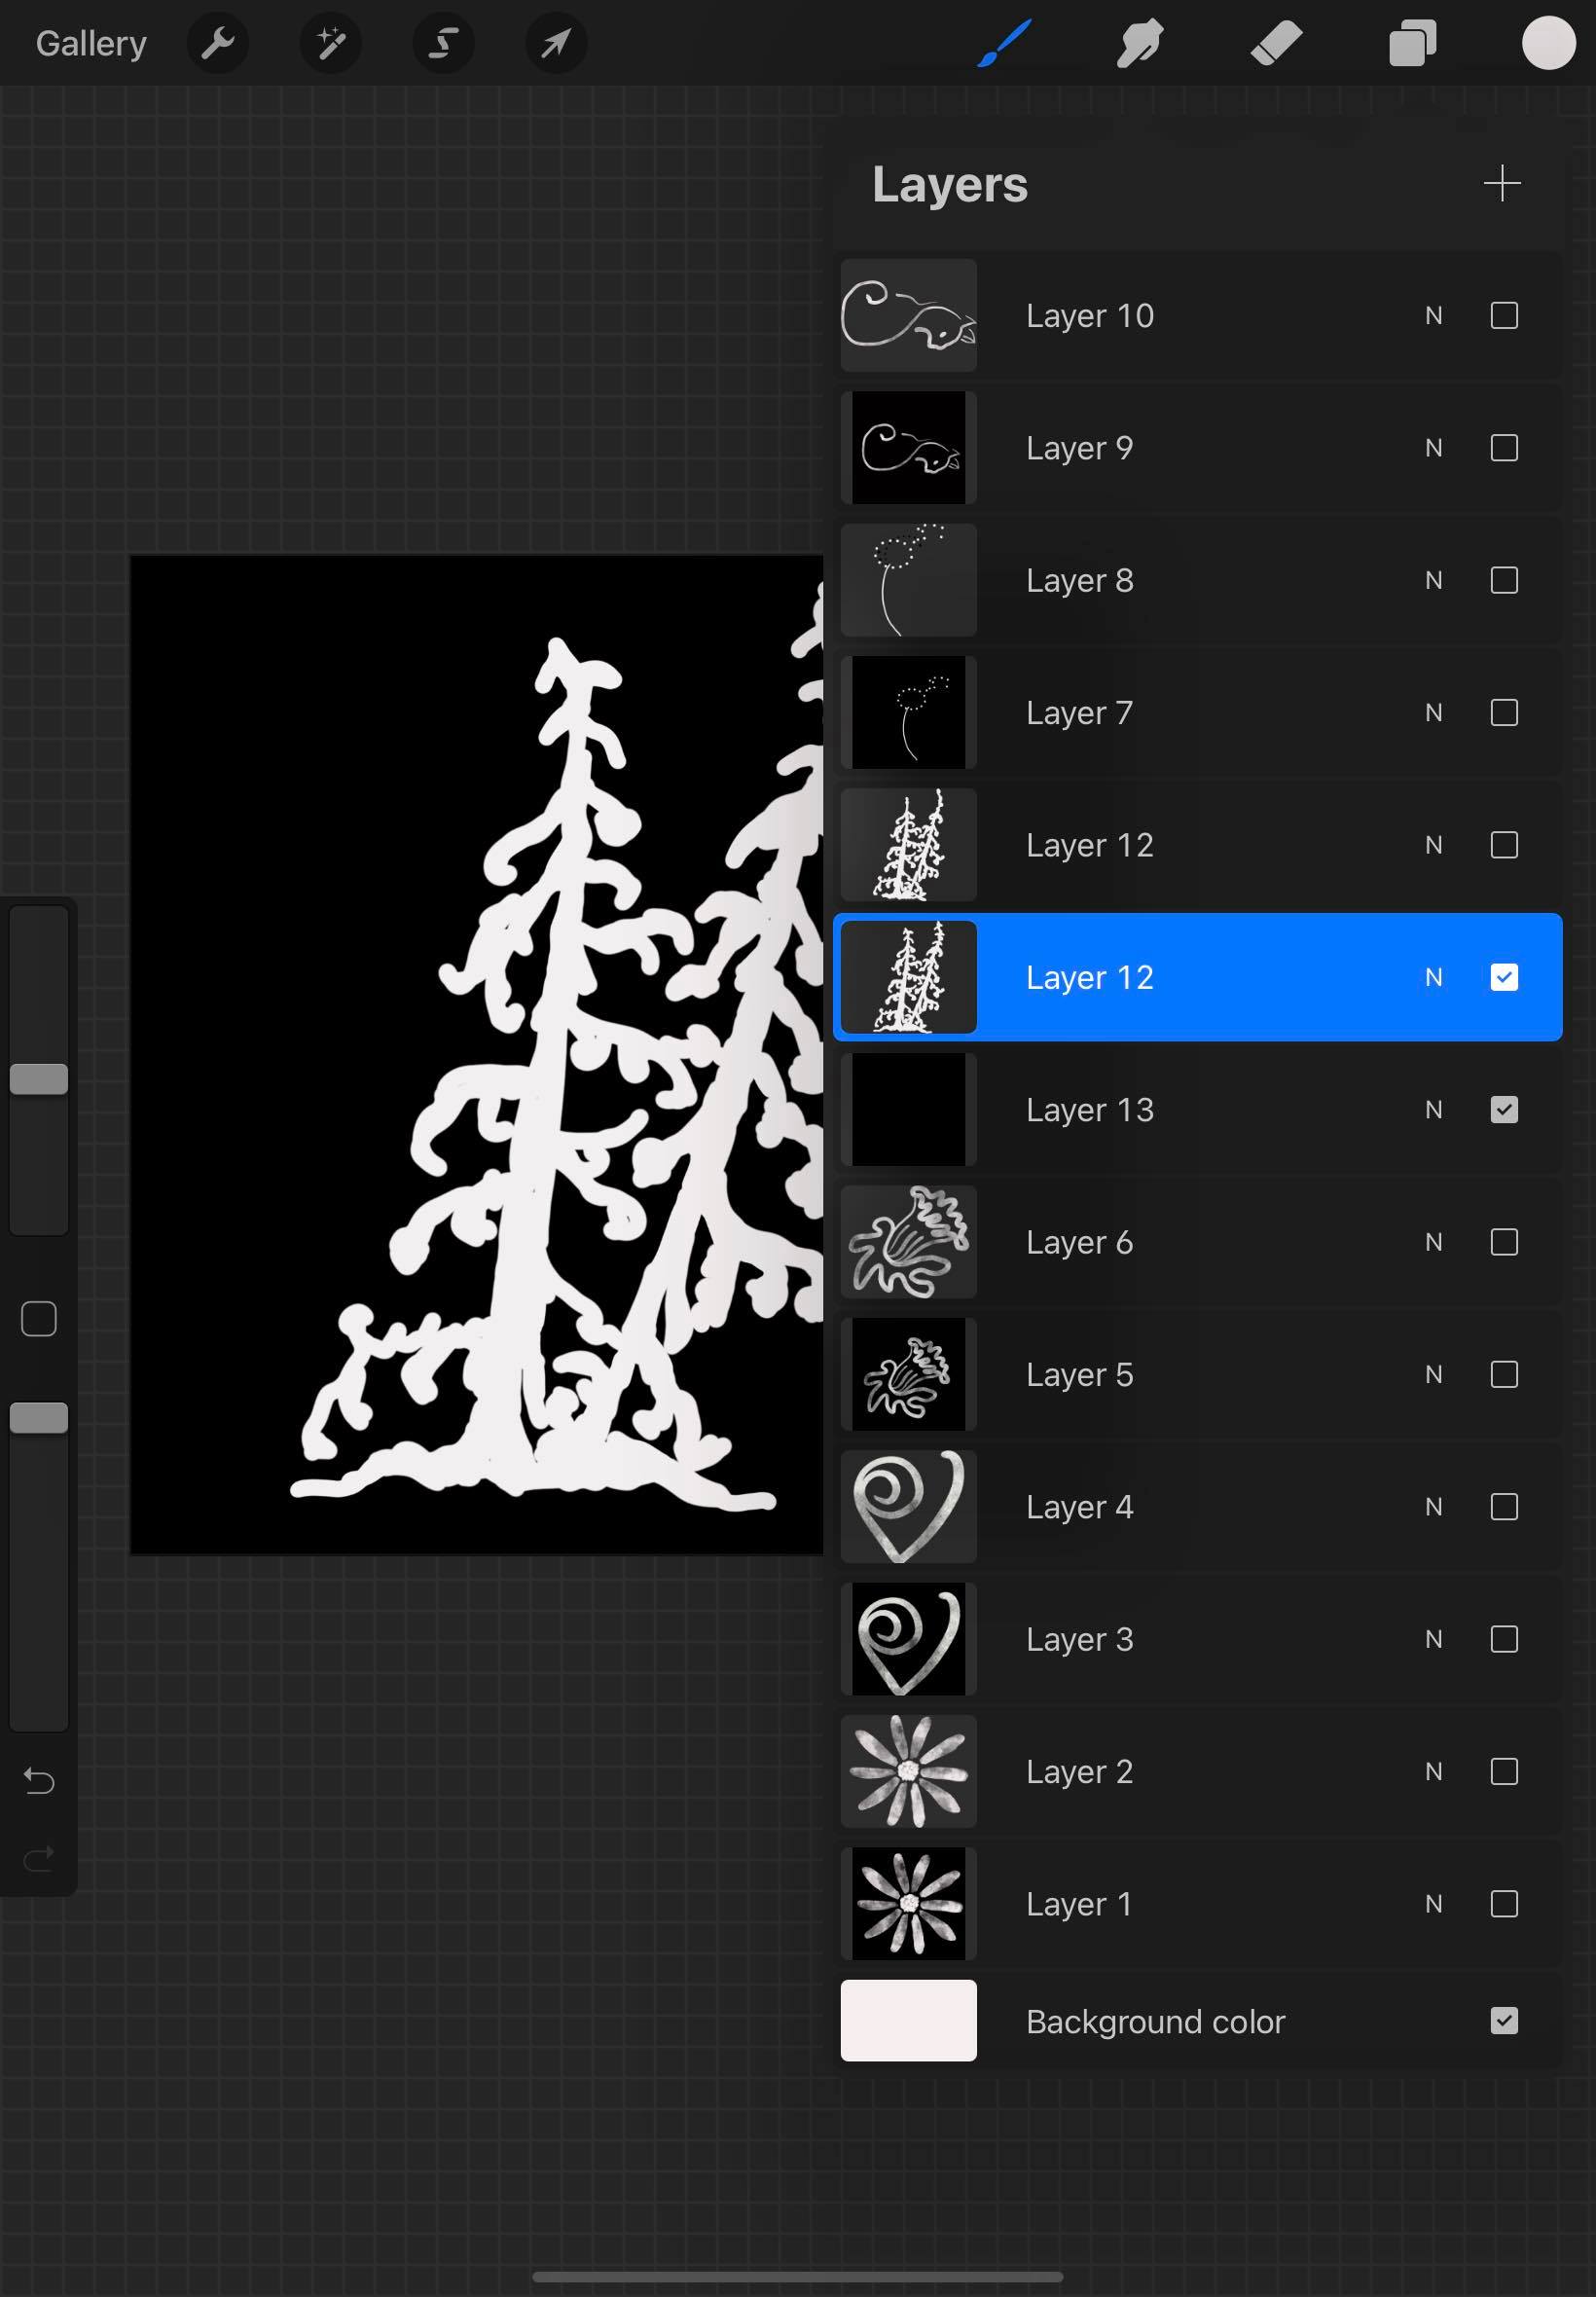
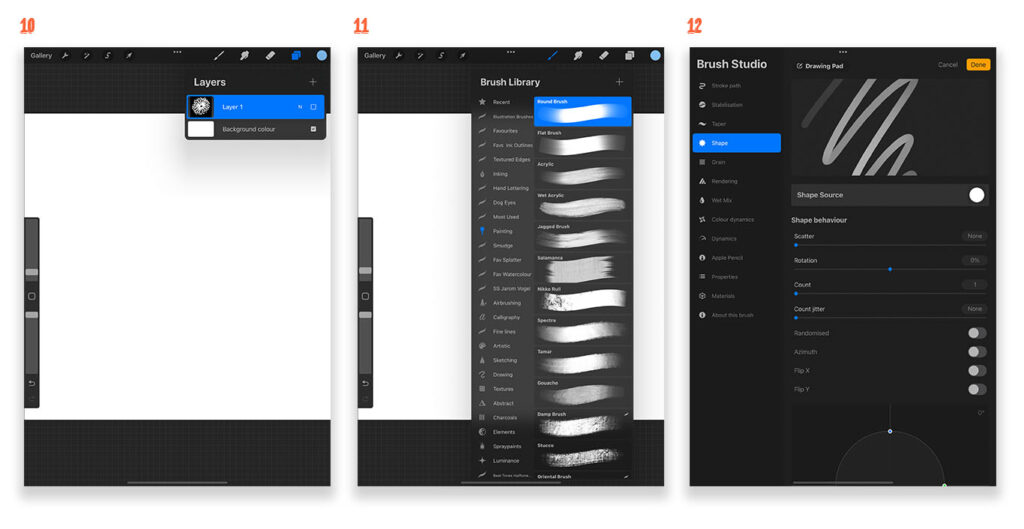
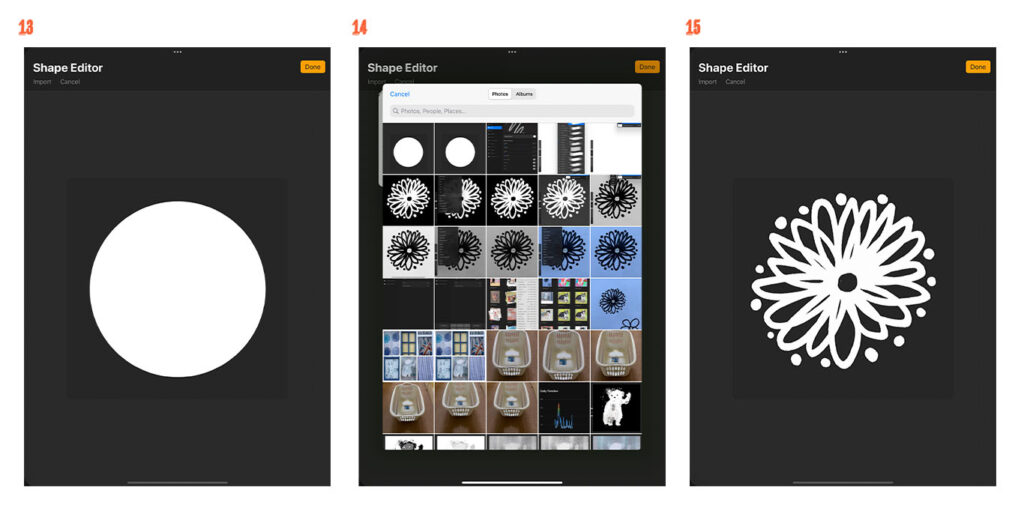
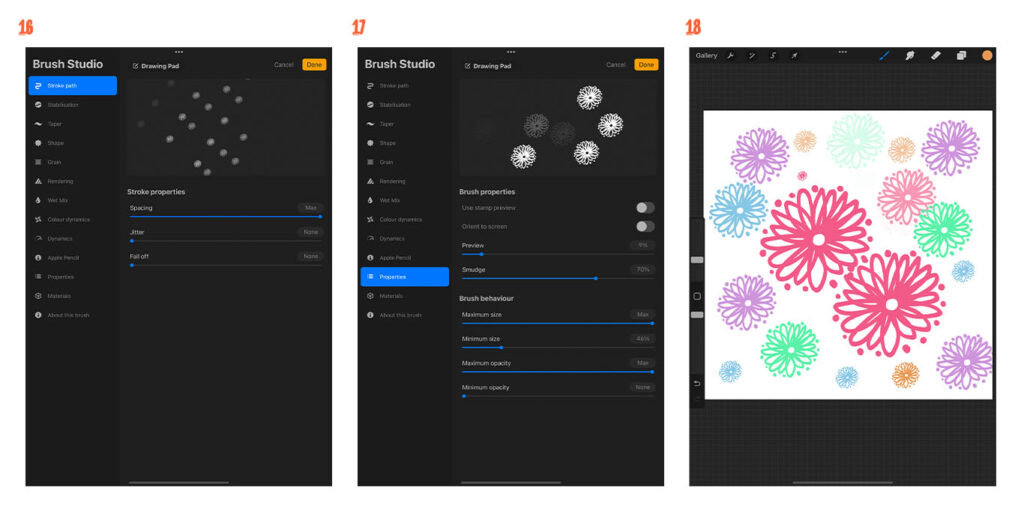
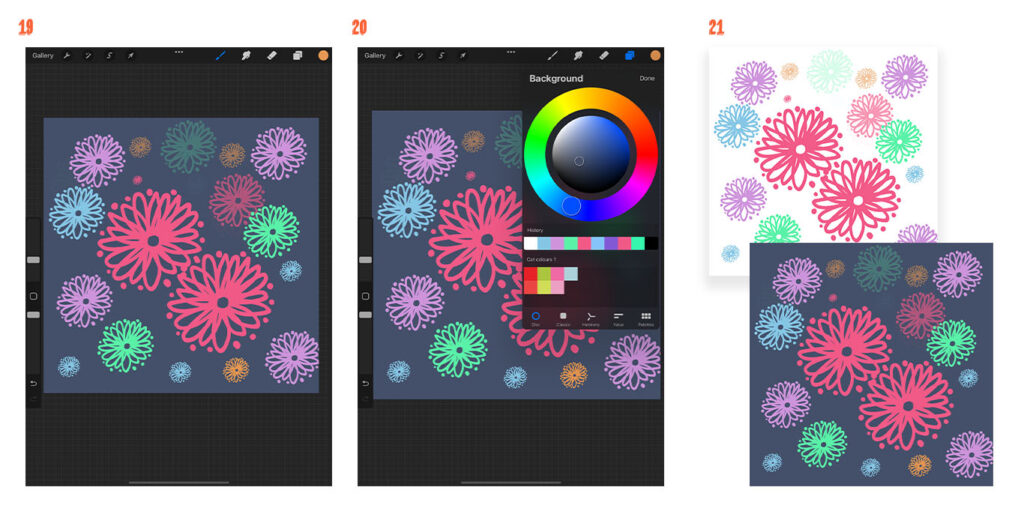
I have a slightly unorthodox  way of creating my brushes. To make a brush, I fill a layer with black. Create a new layer above and sketch in white using a mono brush, however, since writing this article Procreate has been updated so over to Nicki for the tutorial.


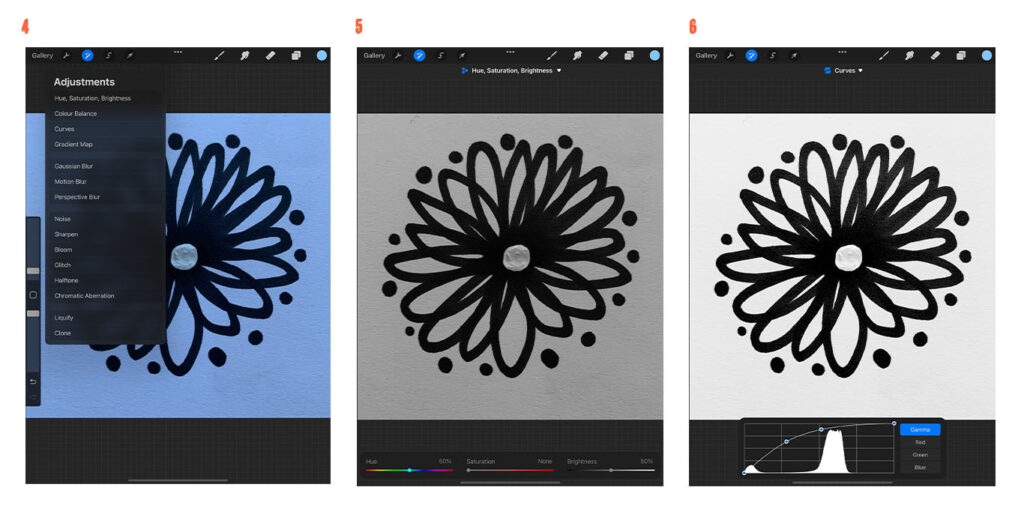
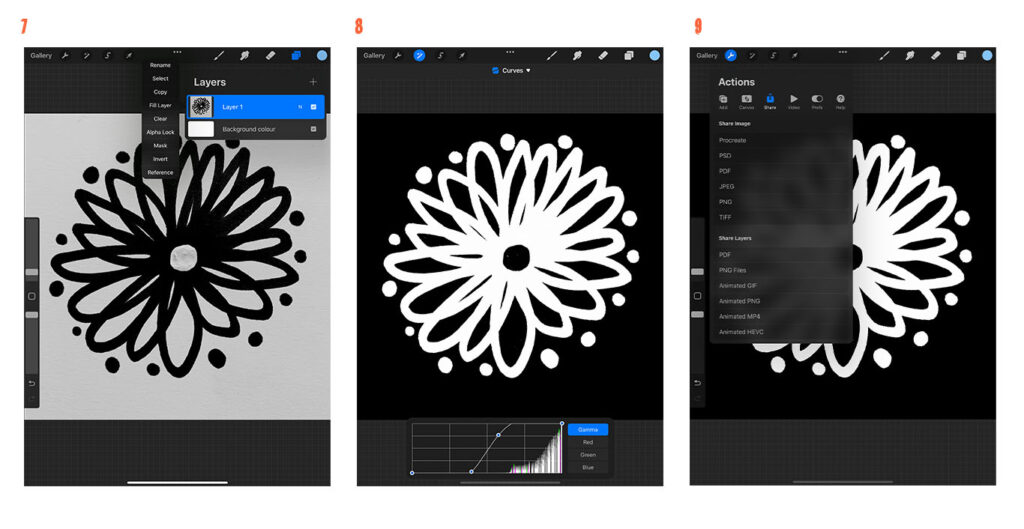
For a step-by-step, up-to-date tutorial of how to create a brush, see Nicki’s fully illustrated tutorial below.


Tutorial - create a brush from a pen sketch

I created this image in minutes by sampling a quick pen drawing of a flower. Follow the tutorial steps below to see my process.

Prepare the drawing in Procreate

  1. Draw the Brush on Paper
  2. Create square canvas 4000px by 4000px
  3. Import the flower drawing and enlarge it if necessary to fill the square

4. Tap on Adjustments menu and choose Hue, Saturation, Brightness from the drop down menu.

5. Make the Saturation “None” by tapping and dragging the Saturation slider at the bottom of the screen to the left .

6. Still in the Adjustments menu, increase the contrast by adjusting the curves menu. Your aim here should be to darken the blacks and lighten the whites.

7. Invert the layer by tapping on Layer 1 and selecting Invert from the Pop-out menu

8. If necessary, return to the curves menu and increase the contrast again

9. Save the image to your cameraroll as a jpg

Create the brush

10. Next we’ll create the brush from the photo we just saved. Hide the brush Layer 1 by tapping on the little box in the layer thumbnails.

11. Select the Round Brush from the Painting Category in the Brush Library to activate the Brush Editor.

12. Select Shape, then tap on Shape Source to activate the Shape Editor.

13. Once the Shape Editor screen pops up, tap Import from the top left options.

14. Locate the brush that you just created from the cameraroll and tap it to import it.

15. Once the flower appears in the Shape Editor, tap Done.

16.Make sure you have Stroke path selected in the left hand menu and drag the Spacing slider (under Stroke properties) as far as you can to the right on Max setting.

17. Tap on Properties from the left menu and drag the Maximum size slider (under the Brush behaviour option on the right) again to the Max setting. Tap Done to return to the main screen.

18. Create a new layer and start tapping the screen with your new flower brush.


19. You’ll get different results by adjusting the pressure as you tap the screen. 

20. Try the brush with different colours and change the background colour by tapping the Background colour in the layer thumbnails and choosing a different colour from the colour picker.

21. These colourful designs would make great prints to liven up any wall or cushion covers.

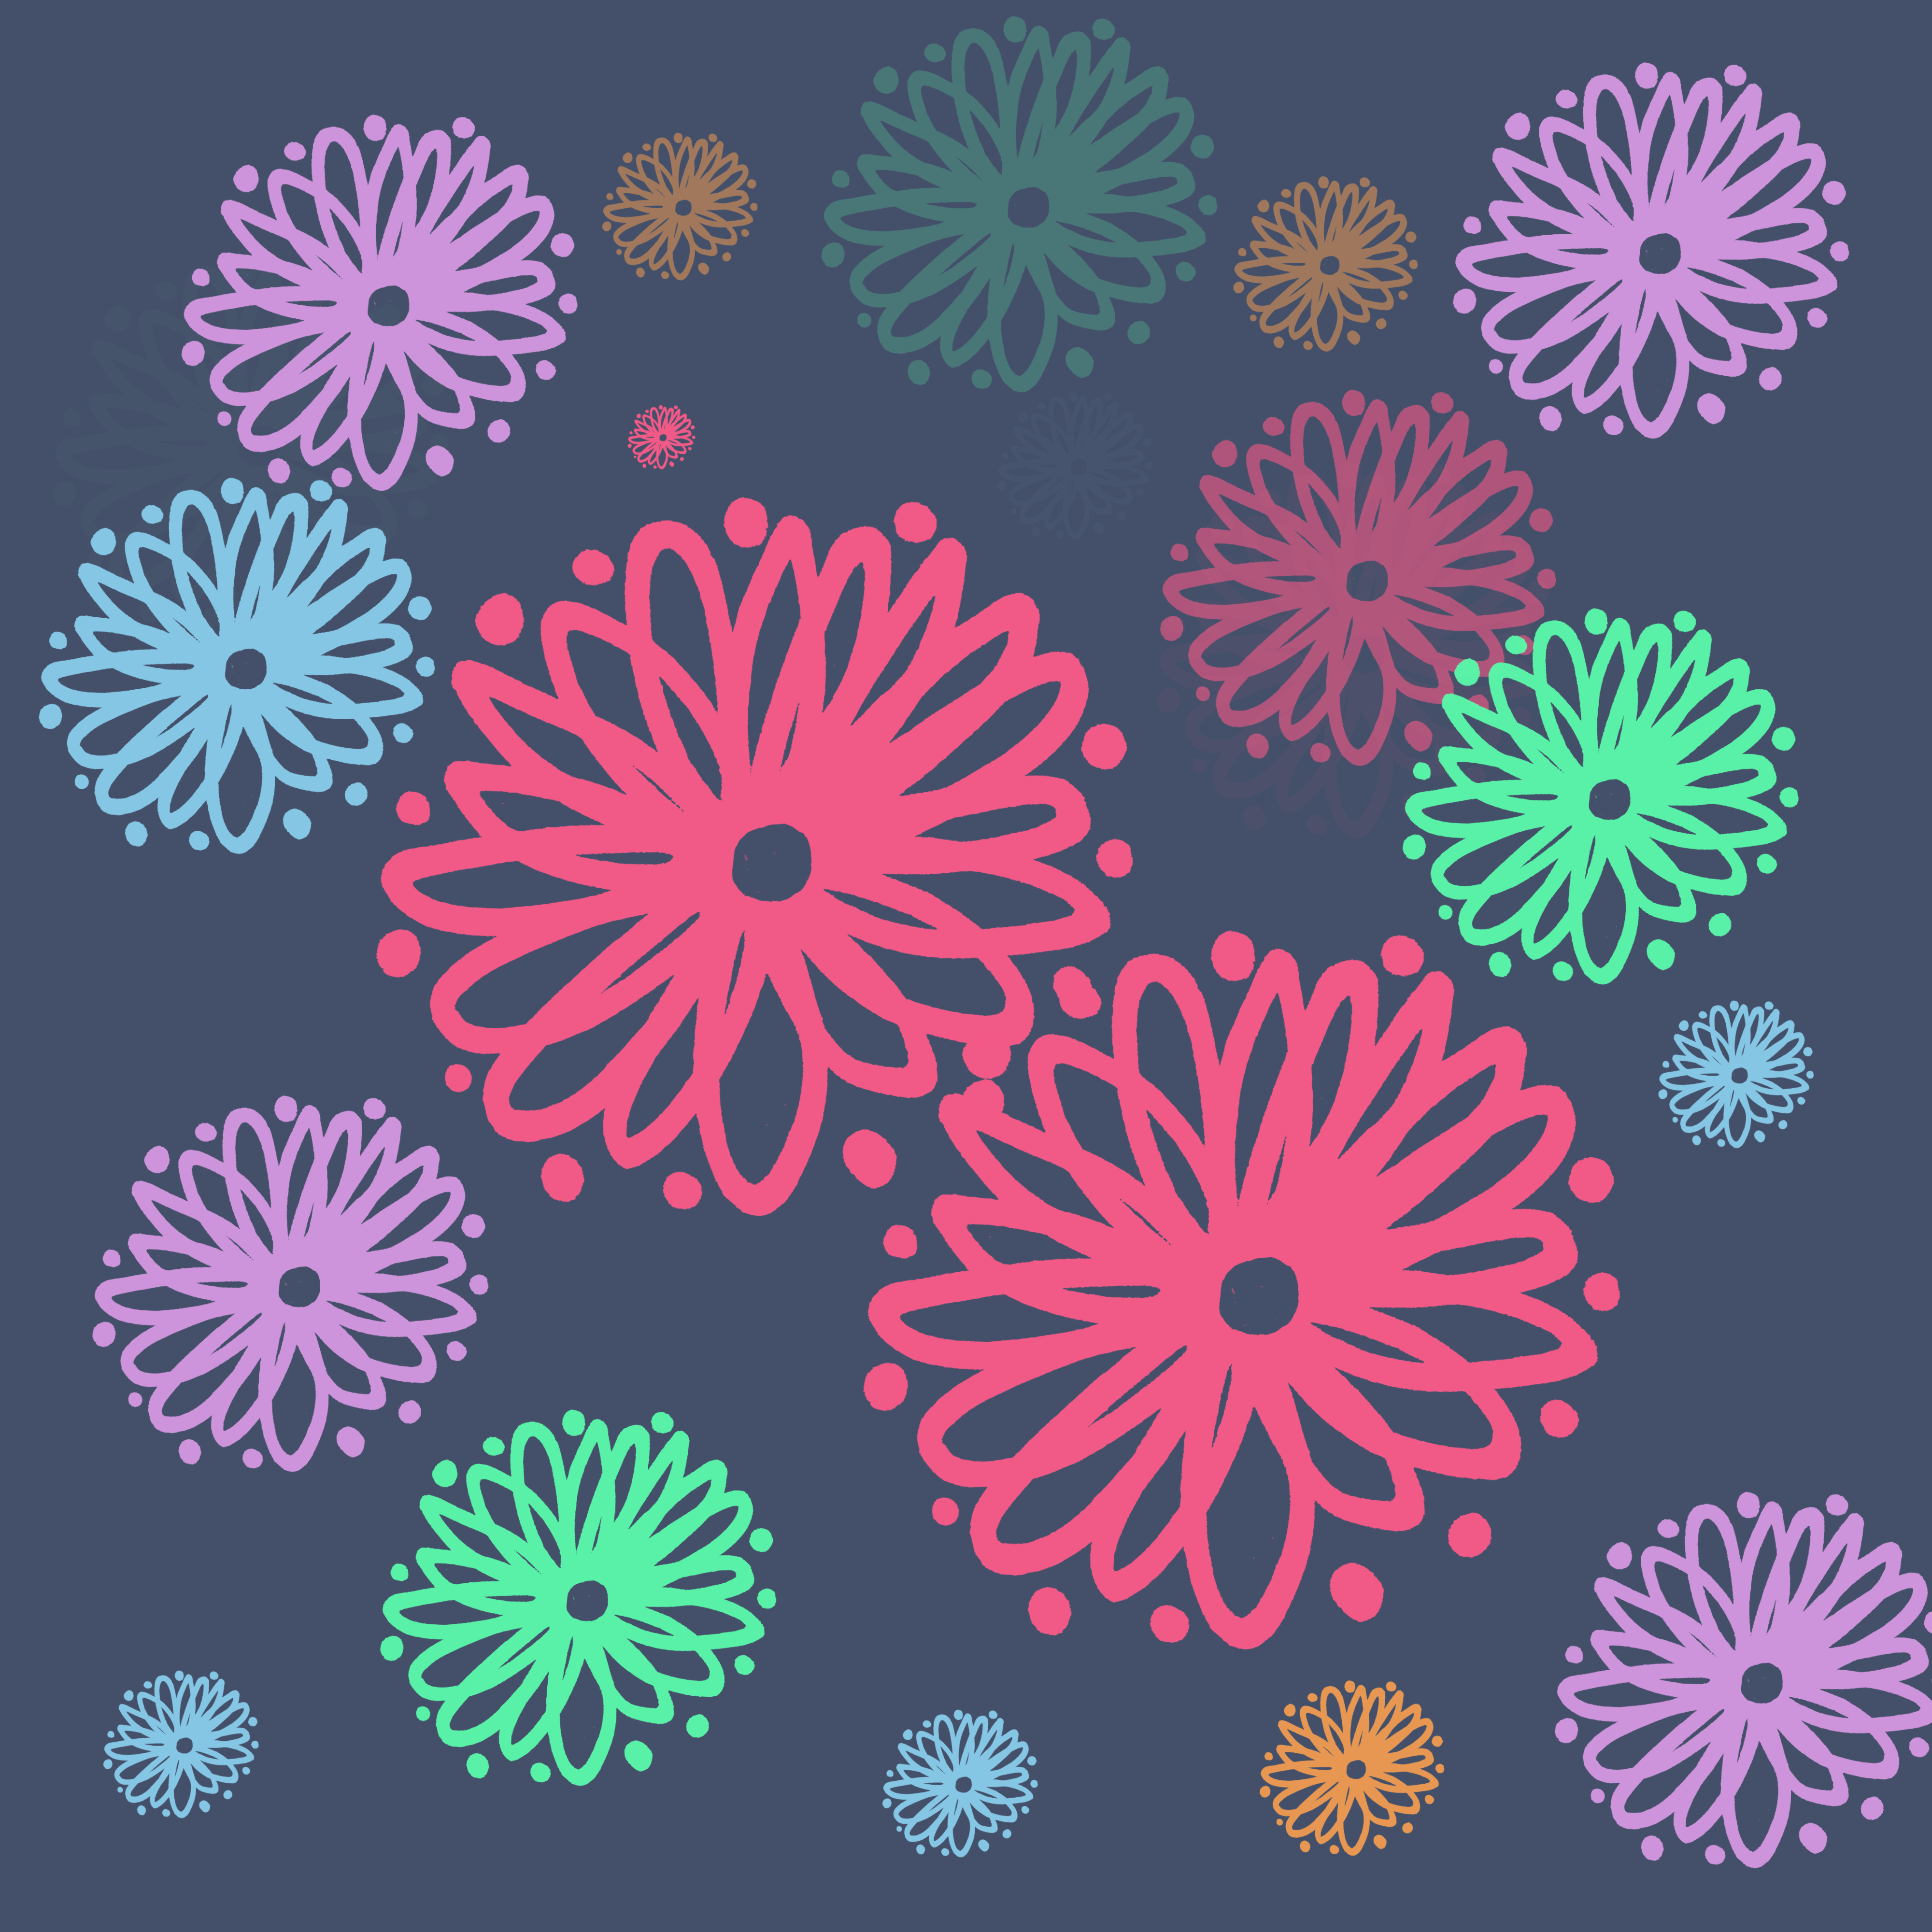
Want to learn more about creating exciting stamp brushes?
Take a look at my online course Armchair Art Adventures.

Nicki FitzGerald
No Comments

Post a Comment