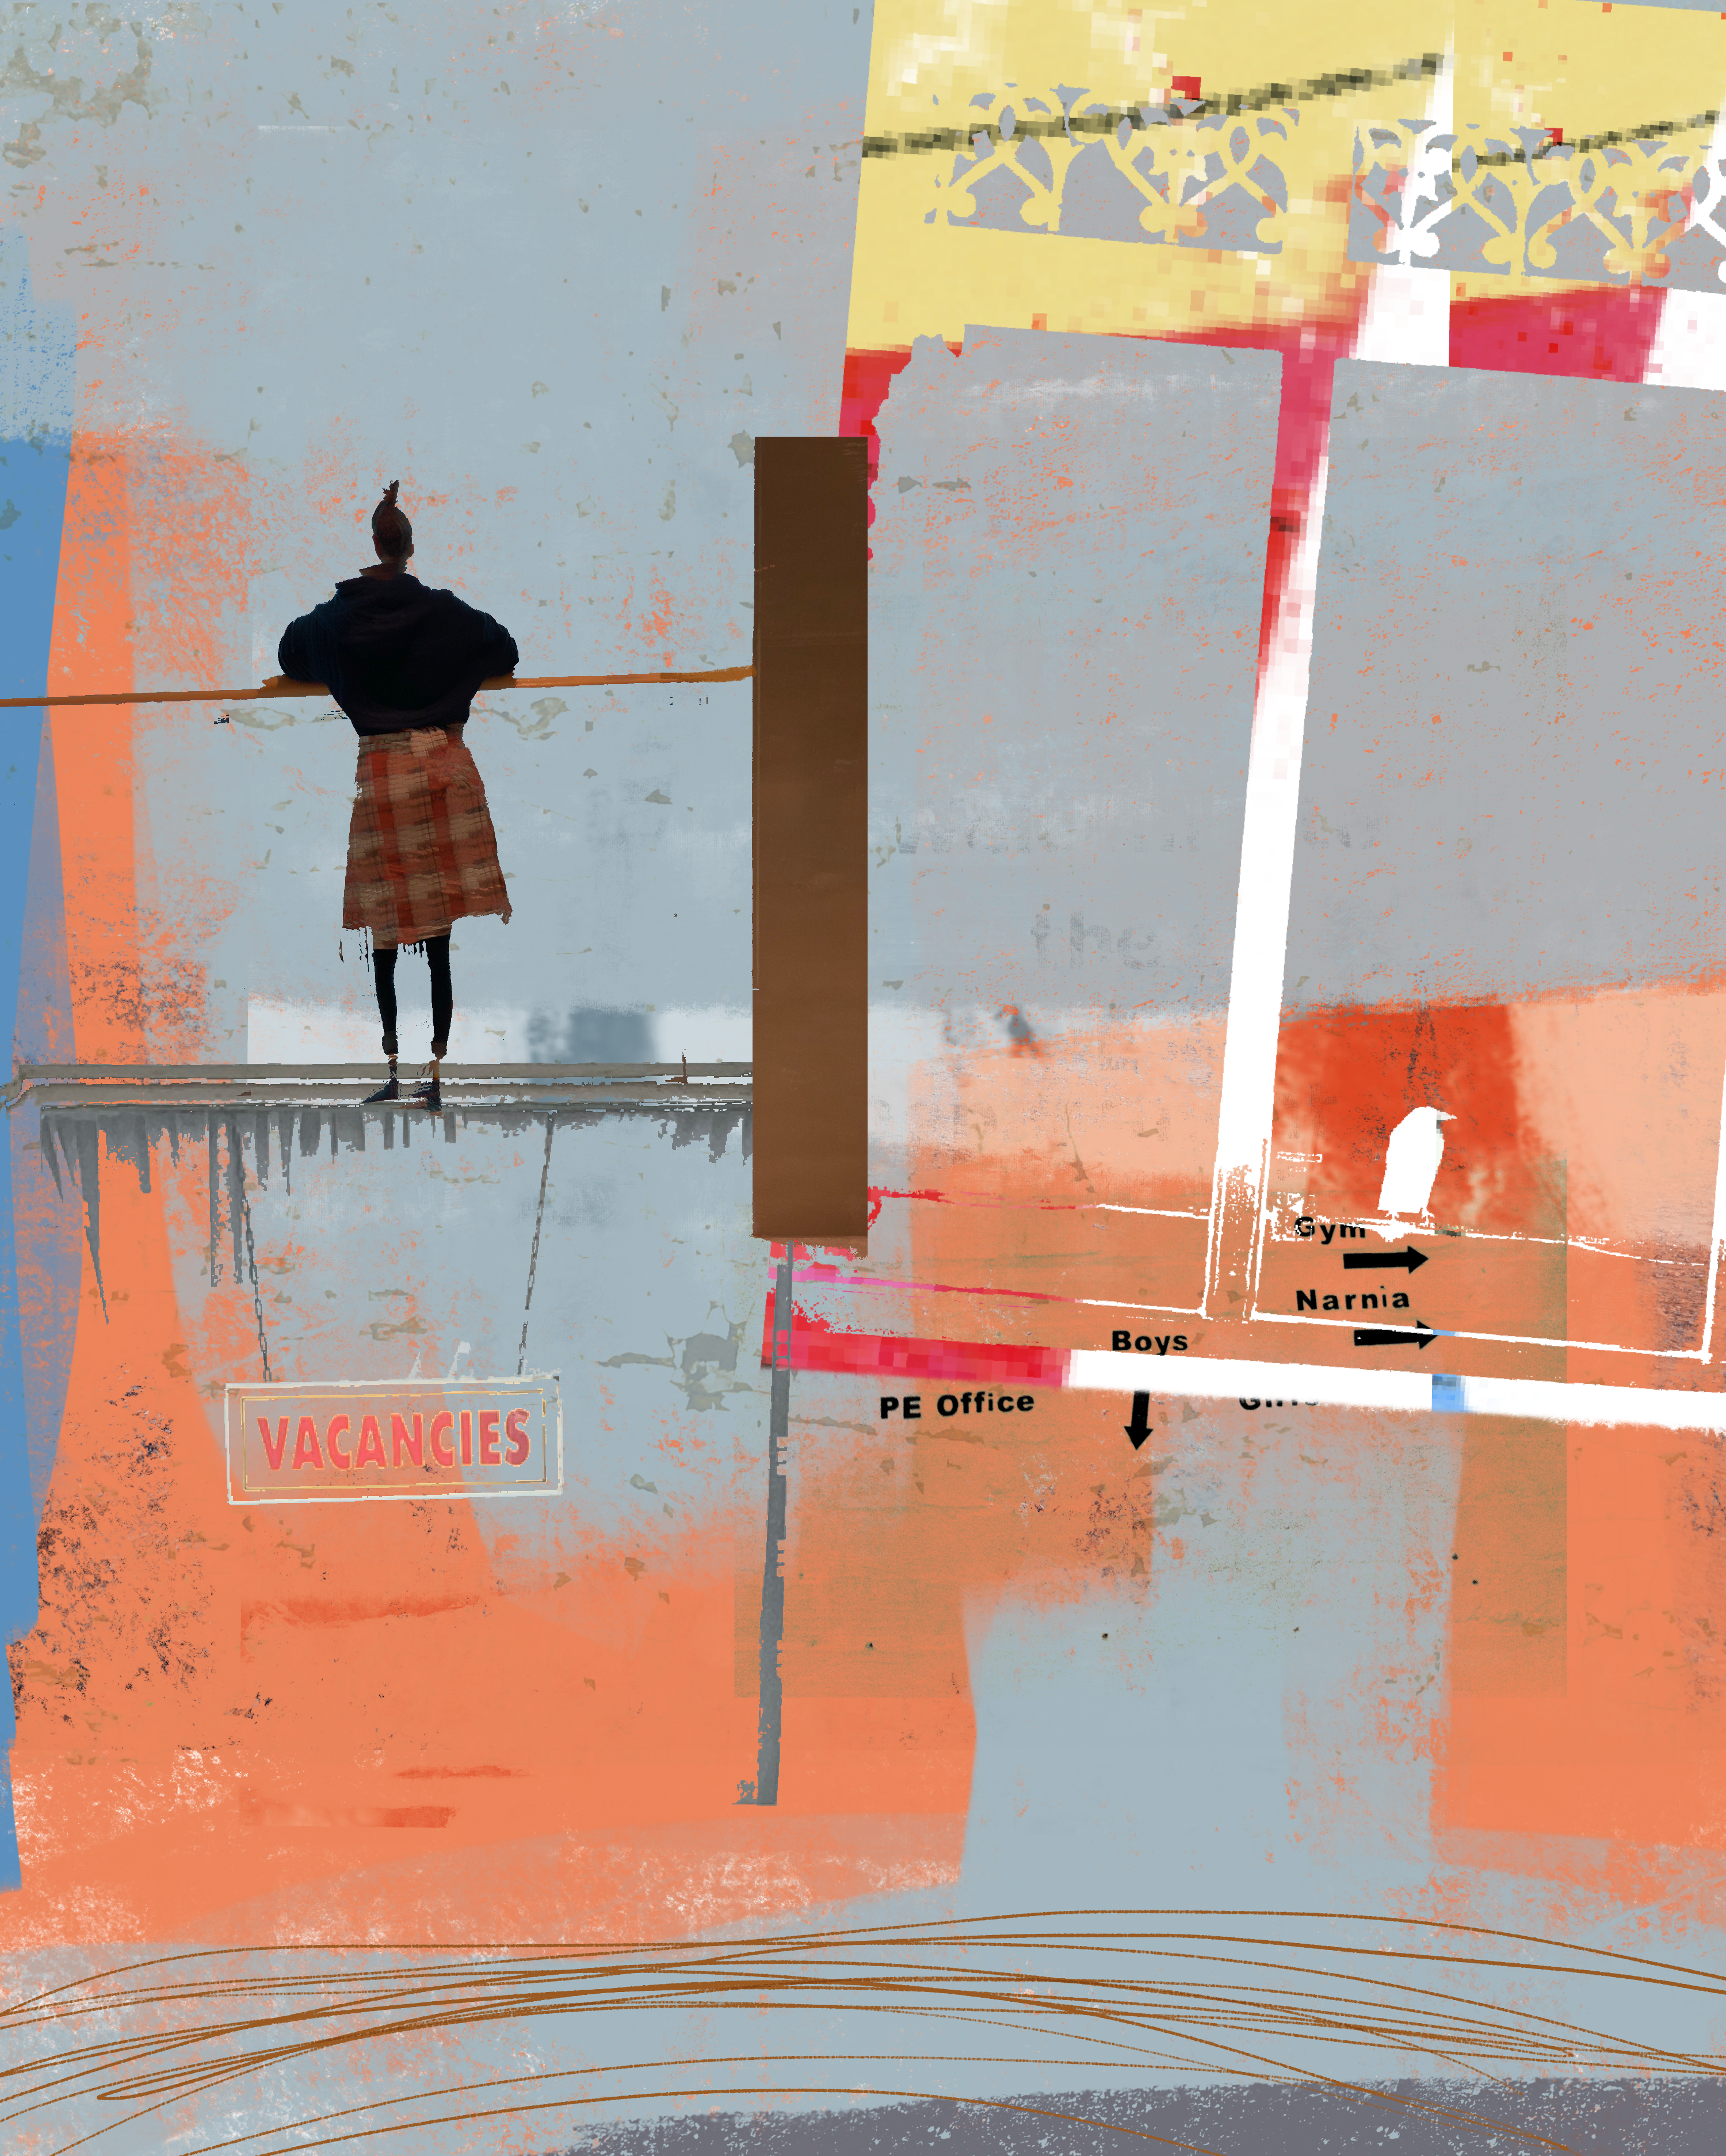
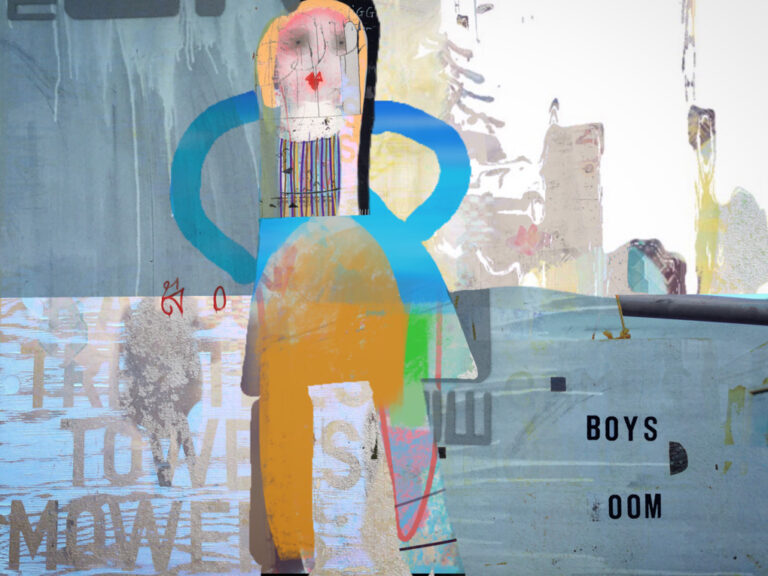
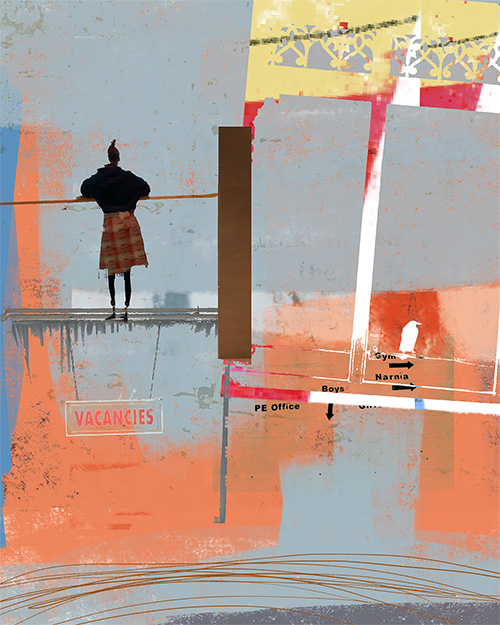
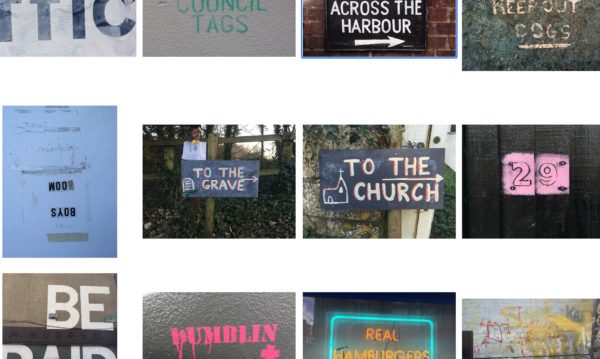
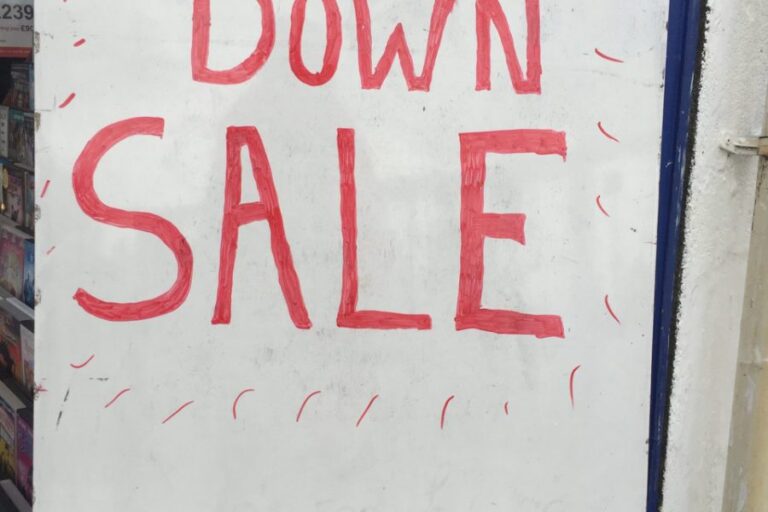
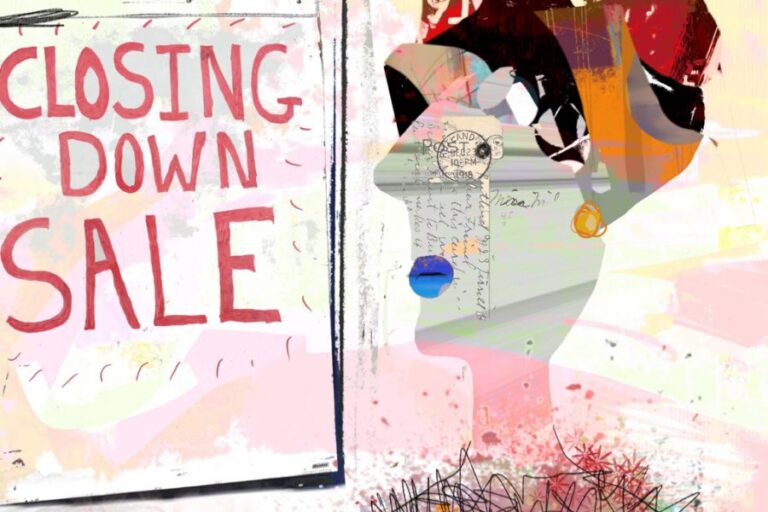
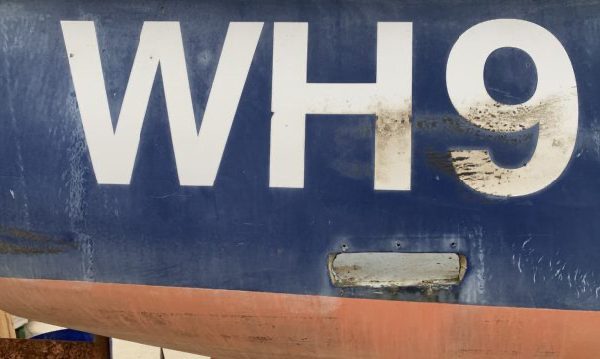
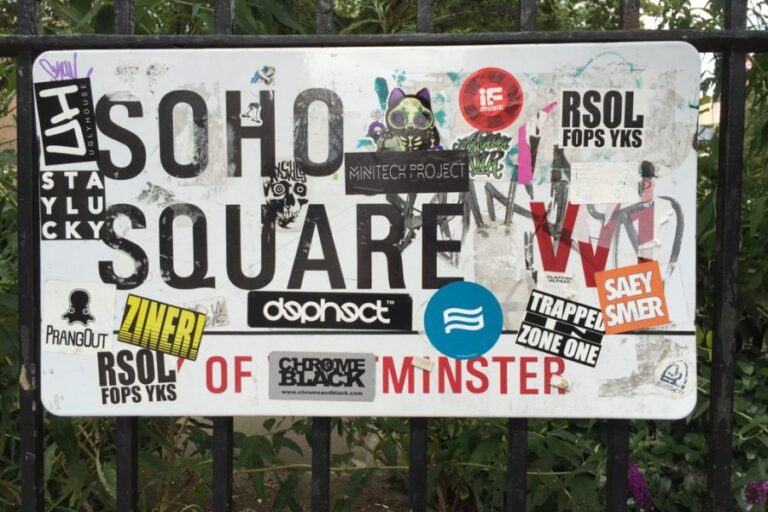
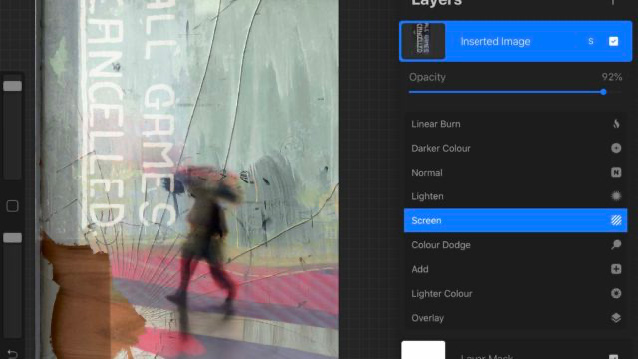
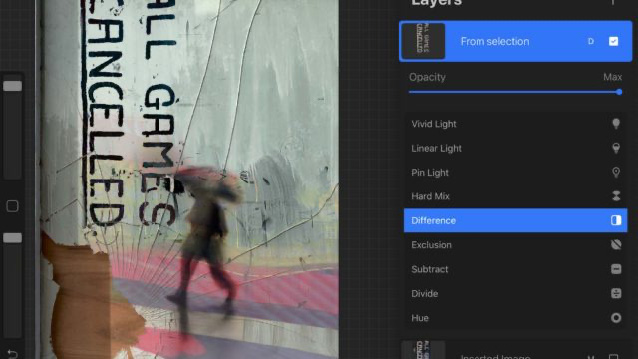
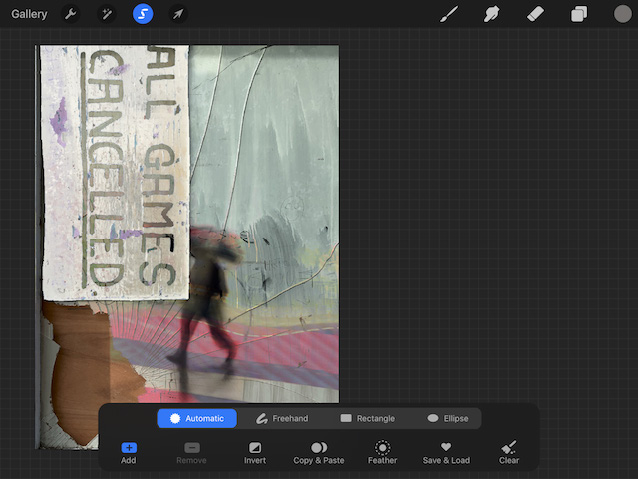
Using Text in Digital Art

I can’t resist photographing lettering when I am out and about, and love to incorporate these “text-photos” into my digital art like the image “Boys Room” and “Getting the colour back #1” below.

Shooting lettering and textures on boats in Weymouth Harbour, Dorset, UK.
“Boys Room” (above) uses text from at least 3 different photos shot on my iPhone.
The lettering in this image comes from two sources; a hotel vacancy sign and a photo I shot of some ad hoc signage I spotted during a local school visit. The images were blended together using Procreate on my iPad Pro.

I have a huge text and lettering folder in my iPad photos library which houses all kinds of lettering both printed and handwritten.

Samples of lettering in my text library in my camera roll.

I incorporated this photo of a sign (below) shot with my iPhone into the image beneath it.

I particularly love hand-written or carved signs which always possess a unique character not just the lettering itself but the old surfaces they find themselves on… usually locally sourced!

The letter stickers are peeling away on the sign below rendering the letter forms into much more angular and sharper shapes. 

These charming signs are great to look at in their own right but I like to take them one step further blending random letters, graffiti and words with photo elements, bold colour and marks to form new meanings.

Photograph lettering in your local area. 

The great thing about photographing signs, particularly hand-written signs is that every sign you capture is going to be unique down to the location, the person or people who created it and the local materials it is created from.


It’s also a great way to explore your local area or wherever you happen to be and it’s very easy to capture sharp and vibrant photos on today’s smartphones.

You’ll want to capture all the lovely textures in your signs so below are a few tips on shooting signage to get you started.


Tips on shooting lettering and signage. 

Getting a sharp image
When you take the photo, you want to capture as much detail as possible so tap on your iPhone screen so tap and focus on the part of the phone screen where the lettering part of the image is or a high contrasting part of the image to ensure the result is nice and sharp. Use the focus reticle on the iPhone screen. To get a sharp shot, use the focus reticle (the yellow square icon) to focus on a contrasting part of the image like the edges of the lettering (shown above.)

Shoot in the open shade

Bright cloudy days tend to be the best for shooting lettering. Try to shoot your signs and lettering in the open shade or wait for a cloud to come over so you get nice evenly distributed light.

Shooting in direct sunlight

Direct sunlight can cast distracting shadows over letter forms, however if you have carved letters or letters in relief, you can use the harsh shadows to your advantage; The shadows will give more definition to your letters. 

Strong sunlight can add more shadow to carved letters enhancing the shape. Shadows caused by direct sunlight can enhance letter forms.

Incorporating text into your digital images

If you want to incorporate text into your work, there are a couple of ways you can do this:

You could use an app Procreate (shown below) or Superimpose X to blend your text with other layers using blend modes like Screen or Difference.

Blending text using Screen blend mode.
Blending text using Difference blend mode.

Or you could try isolating the text, by cutting the background out using the selection and masking tools in either Superimpose or Procreate.

Procreate’s Automatic Selection tool is great for selecting and cutting out text.

I hope you’ll find time to shoot some signs and lettering on your journeys to and from your home and then find ways to incorporate them into your own work using the tips I’ve shared above.

Keep up to date with iPhoneographyCentral news about techniques, apps and mobile

art courses by signing up to my occasional newsletter.

Have a brilliant creative week! I look forward to seeing your text photos and images created with text in our Facebook Group!


= Nicki =

♥️📱🎨

Nicki FitzGerald
No Comments

Post a Comment